Simple carbon nanotube device
In this tutorial you will build a single-wall carbon nanotube (CNT), relax it along the tube length, and then turn it into a device configuration suitable for nanoscale transport studies.
Attention
This is a two-step procedure:
Build and geometry optimize a single CNT unit cell.
Elongate the relaxed CNT and turn it into a device configuration.
Note
Geometry relaxing the CNT is particularly important for phonon calculations: Negative phonon frequencies will appear in the phonon band structure if the configuration is not properly relaxed.
Build and geometry optimize a short CNT
Open the QuantumATK Builder  , and use
to create a (6,0) carbon nanotube.
, and use
to create a (6,0) carbon nanotube.

Then send the configuration to the Script Generator  by using the
  botton. In the Scripter, add the following blocks:
 New Calculator.
 .
.
Change the output file to cnt.hdf5 and double-click the New Calculator
block to edit the settings:
Select the ATK-ForceField calculator and the “Tersoff_C_2010” potential.
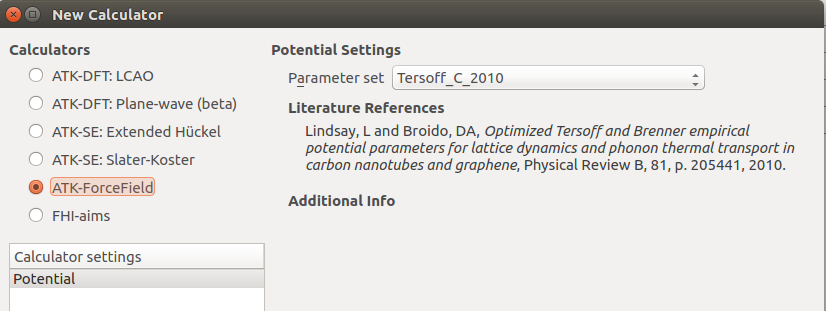
Note
For QuantumATK-versions older than 2017, the ATK-ForceField calculator can be found under the name ATK-Classical.
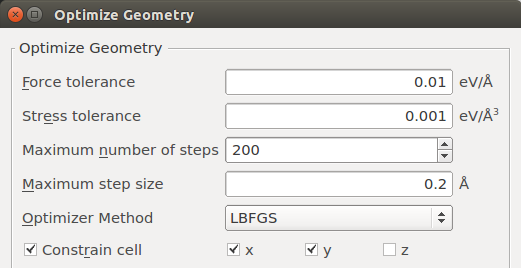
Then open the OptimizeGeometry block and edit it:
Set the maximum force to 0.01 eV/Å.
Set the maximum stress to 0.001 eV/Å3.
Remove the checkmark for “z” under “Constrain cell” to allow relaxation of the cell along the periodic direction.
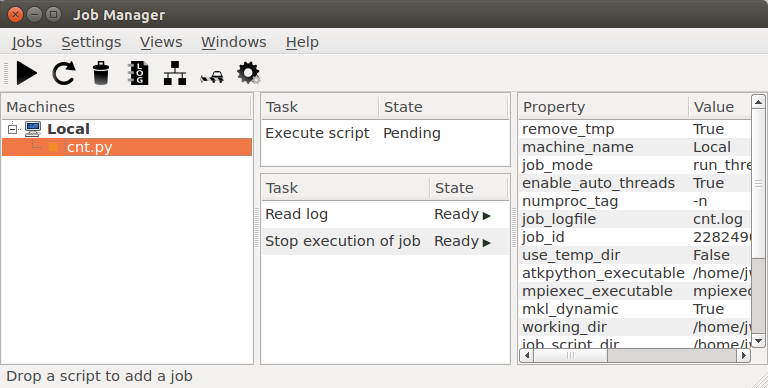
Send the script to the Job Manager  , save the script as
cnt.py, and run the calculation by clicking  .
The calculation uses a classical potential, so it should be very fast.
.
The calculation uses a classical potential, so it should be very fast.
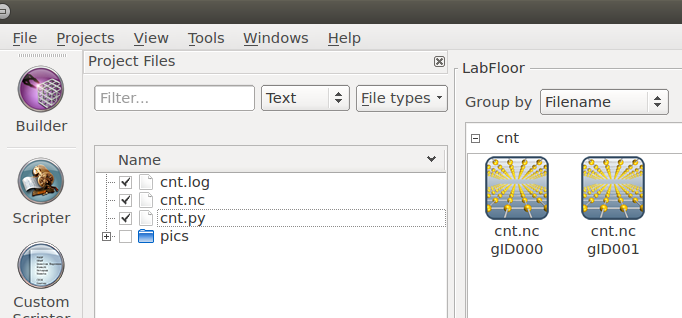
Once finished, you should find the output cnt.hdf5 on the QuantumATK LabFloor.
It contains two objects of the type bulk_configuration  -
the initial (
-
the initial (glD000) and the optimized (glD001) CNT structures.
You can click an object to highligt it and then use the Viewer  to visualize it.
CNT device configuration
Drag and drop the optimized CNT onto the Builder . Then do the
following to make it longer:
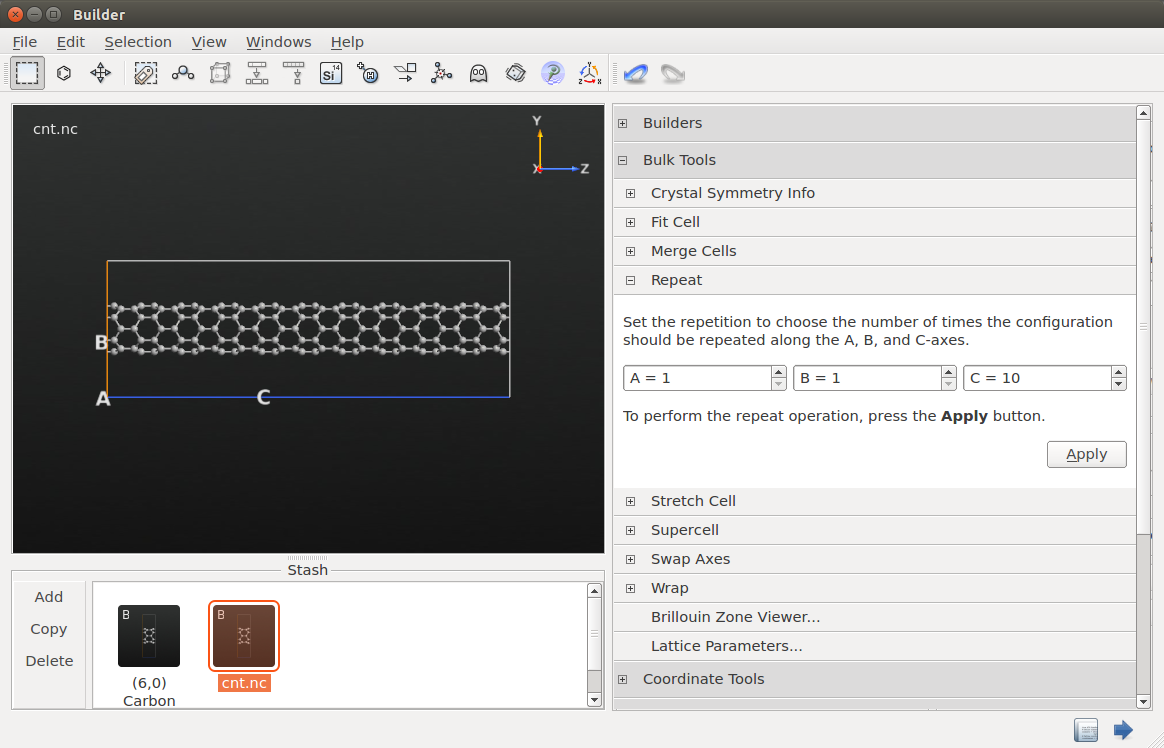
In the right-hand side panel, open the plugin.
Enter a repetition of 10 along C (the tube axis) and click Apply to create a longer CNT.
You are finally ready to convert the configuration to a device and save it:
Open the plugin.
Leave the electrode lengths at default.
Click OK to create the device.
Highlight the device configuration, right-click it, and choose Save as in the drop-down menu. You can now save the configuration in either a HDF5 file (
cnt_device.hdf5) or as a Python script (cnt_device.py).Note that the CNT device consists of a central scattering region sandwiched between left and right electrodes.

Attention
The instructions above result in a CNT device with a central region that is roughly 43 Å long. This is a somewhat arbitrary choice and it may well be that specific applications require a shorter or a longer central region!
The central region and electrode lengths are easily modified:
Highlight the device Stash item.
Use the plugin to change the central region length along the C axis.
Similarly, the plugin lets you change the electrode lengths.
Tip
What next? You have created a carbon nanotube device configuration. You can now use it in scientific studies of electron and phonon transport in CNTs.
Thermoelectrics For example, you can check out the tutorial Thermoelectric effects in a CNT with isotope doping, where phonon and electron transmission spectra, thermal conductance, and the ZT product is calculated for CNTs with and without isotope impurities.
Scripts
For your reference, you can download the CNT device configuration
created in this tutorial here:
cnt_device.py.